Drawing Widget #6 in Inventor
Step 1: Create a 2D sketch of the side of widget 6. Make sure to dimension your sketch. Each cube on the piece of sketch paper is a quarter inch in Inventor.
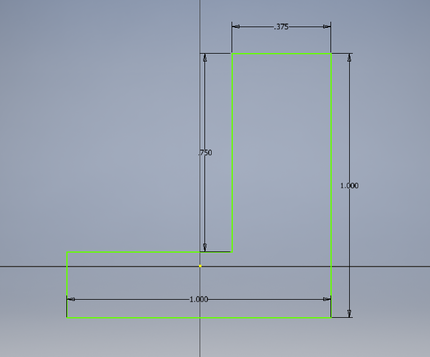
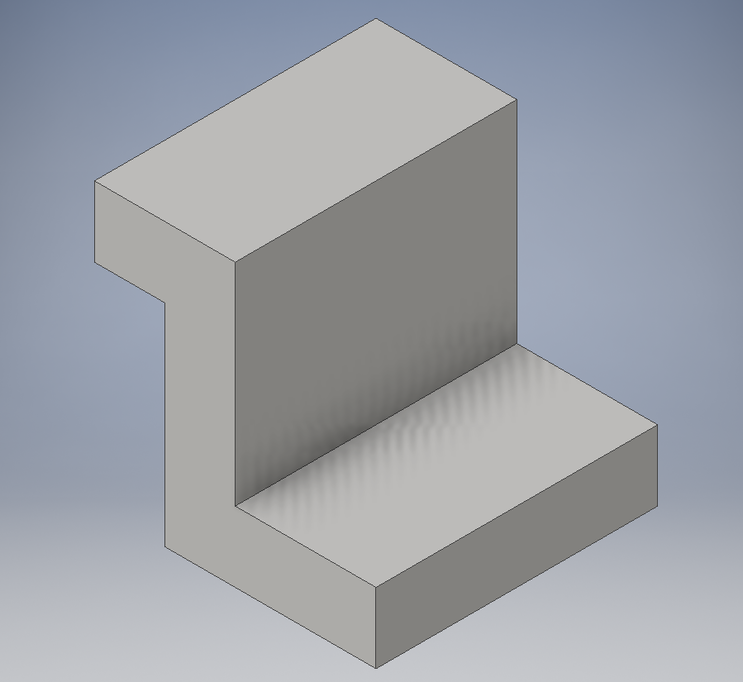
Step 2: Extrude sketch 1 by 1 inch to make it 3D.
Step 3: Create a sketch of the top of the extrusion of sketch 1. Sketch the square using the proper dimensions from the sketch paper.
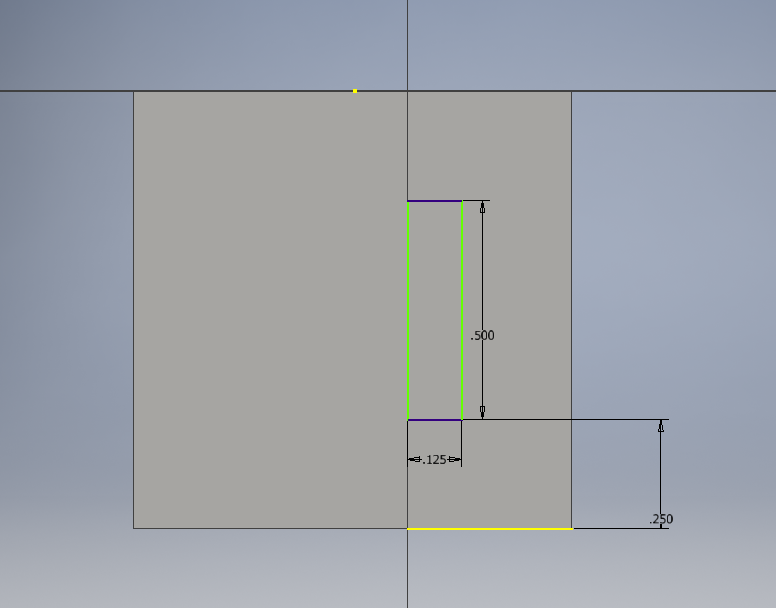
Step 4: Finish sketch 2 and extrude down .75 inches to take away the part of the widget. You extrude down .75 inches because that is the thickness of the widget's top part down to the bottom part (see the first image for more context).
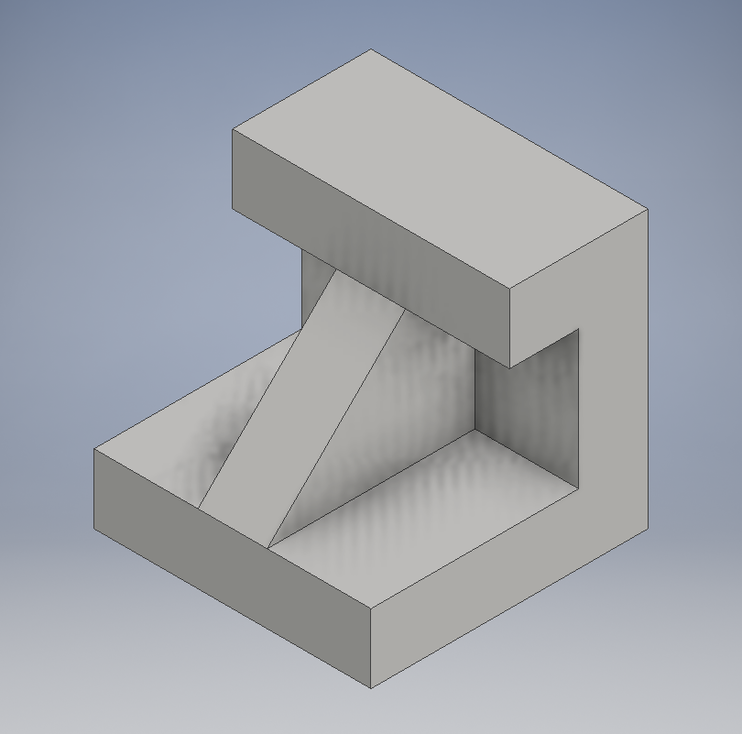
Step 5: Create a sketch of the lower part of Widget 6. Draw and dimension based off of the sketch paper.
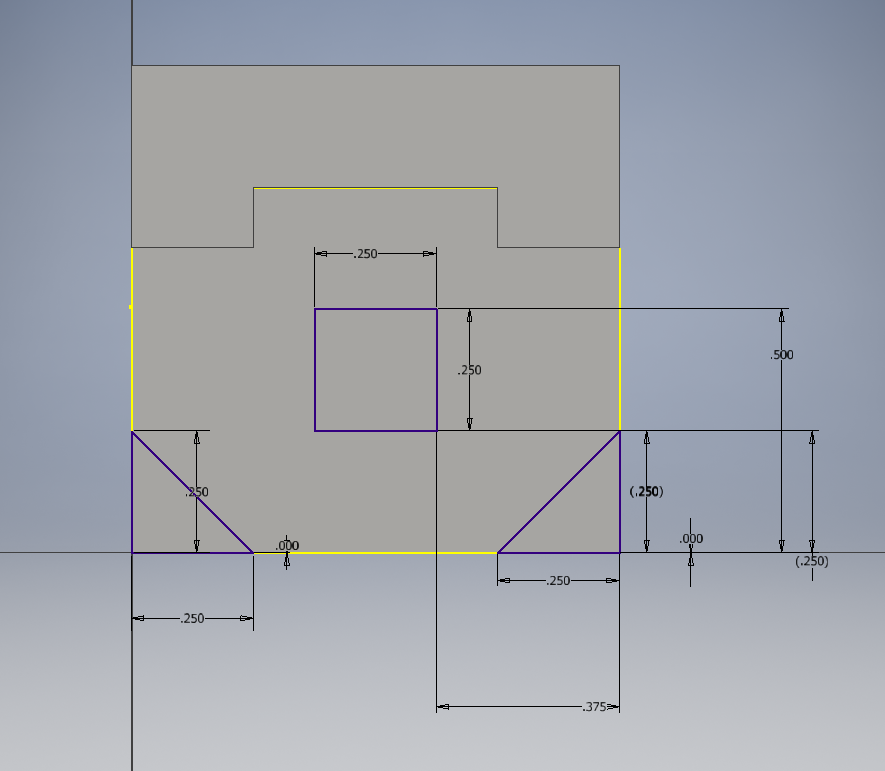
Step 6: Extrude the sketch down .25 inches. You extrude down .25 inches because that's the thickness of the bottom part of widget 6.
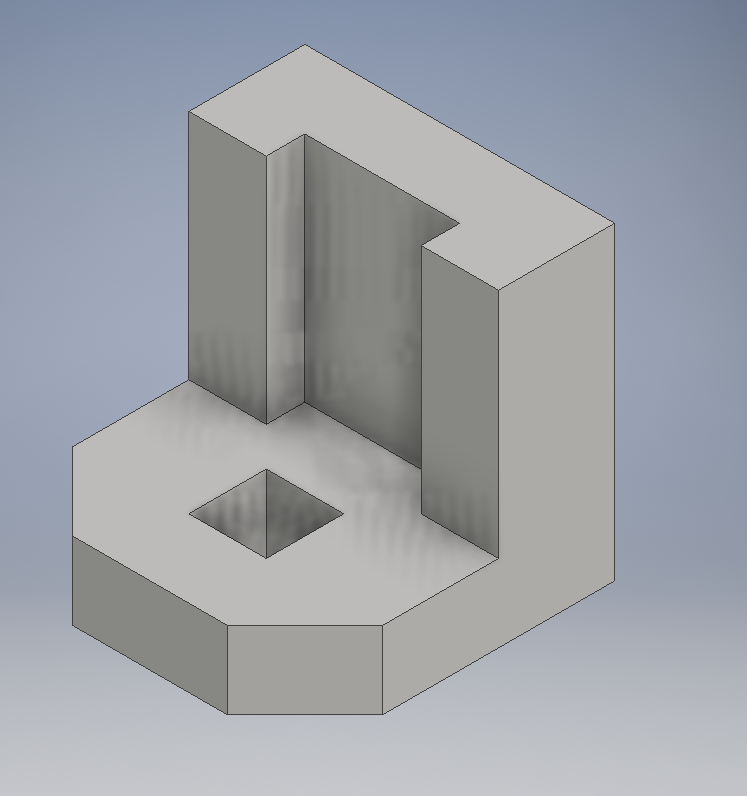
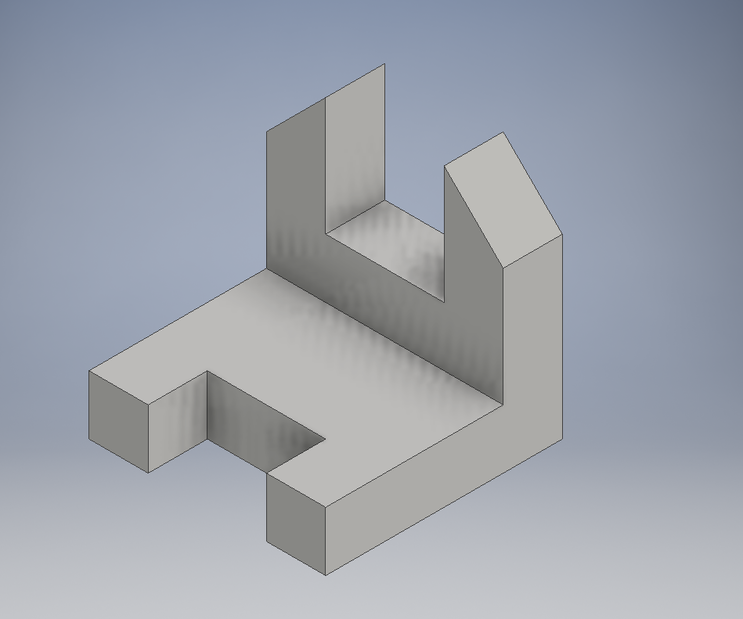
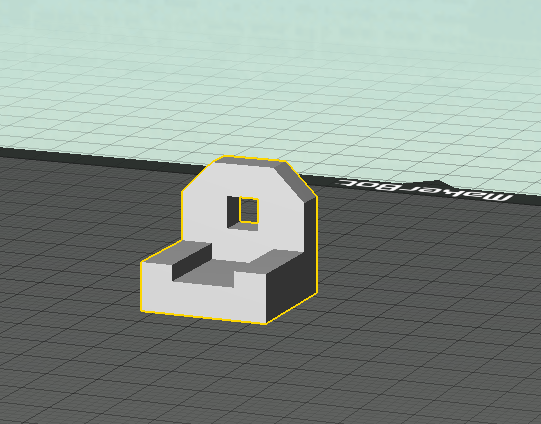
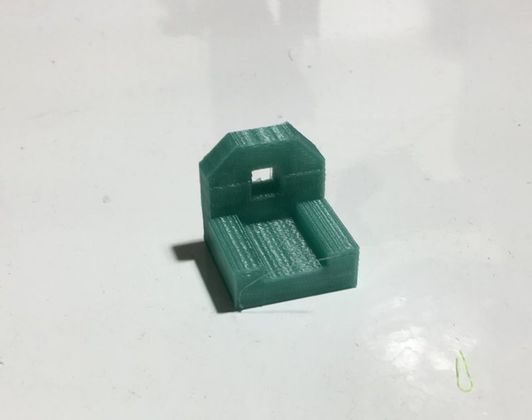
End result of Widget 6
Widget 1
Widget 2
Widget 3

Widget 4
Widget 5
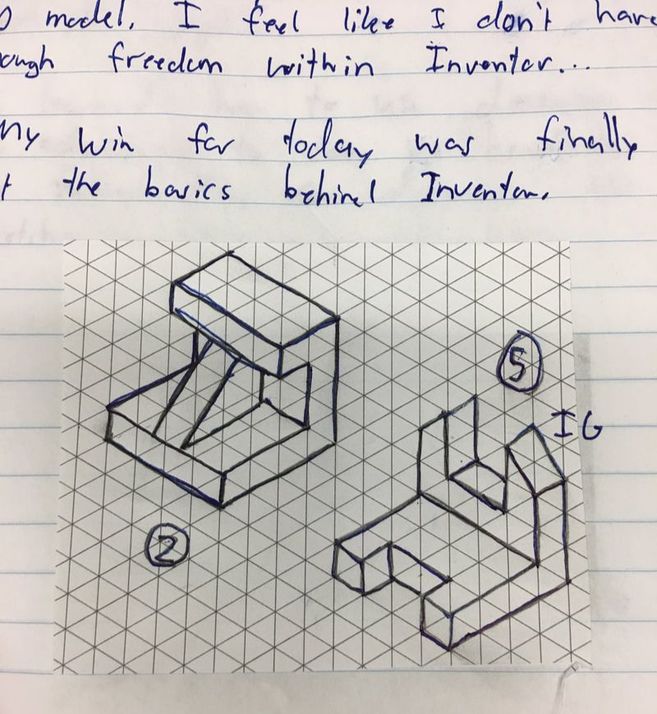
Sketch of Widget 2 and 5 in my designer notebook
3D Printing Widget #6
Step 1: Save desired widget as a .STL file in Inventor
Step 2: Open the .STL file in Makerbot Desktop
Step 2: Open the .STL file in Makerbot Desktop
Step 3: Select the widget and change the scale on the right to 1000.00%.

,Step 4: Using the rotate tool ensure that your widget doesn't have any points that are floating. Using the move tool, ensure that your widget is flat on the plate.
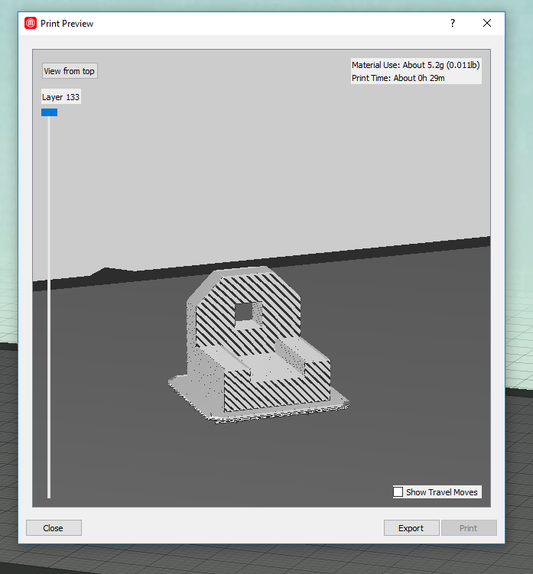
Step 5: Next, click the preview button in the top right, to preview your widget before you print it.
Step 6: Click export to save the file that the 3D printer can read.
Step 7: Put the print file on a flash drive to transport the file to the 3D printer.
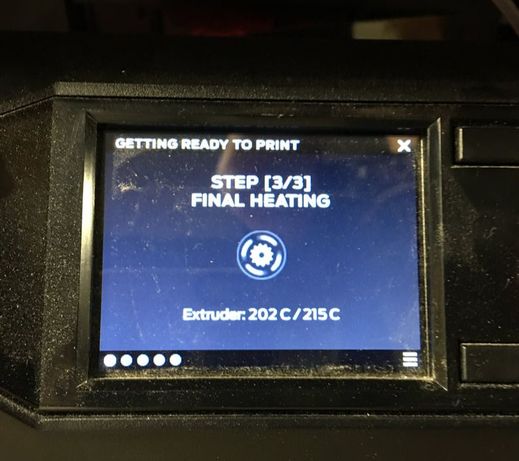
In this introduction to 3D printing, I learned how to use the program Inventor, and Makerbot Desktop to 3D print a widget. Using Inventor I was able to design an object in 3D space that I wanted to print. We then saved that file as a .STL file. After saving the widget we learned how to use Makerbot Desktop to set up the 3D model on the print plate. We were able to scale it and move it around to ensure that the 3D printer would print it correctly. After that we learned how to put the Makerbot file into the 3D printer, and print it. Overall I'm fairly confident with Inventor, and I'm confident with using Makerbot and using the 3D printer.
